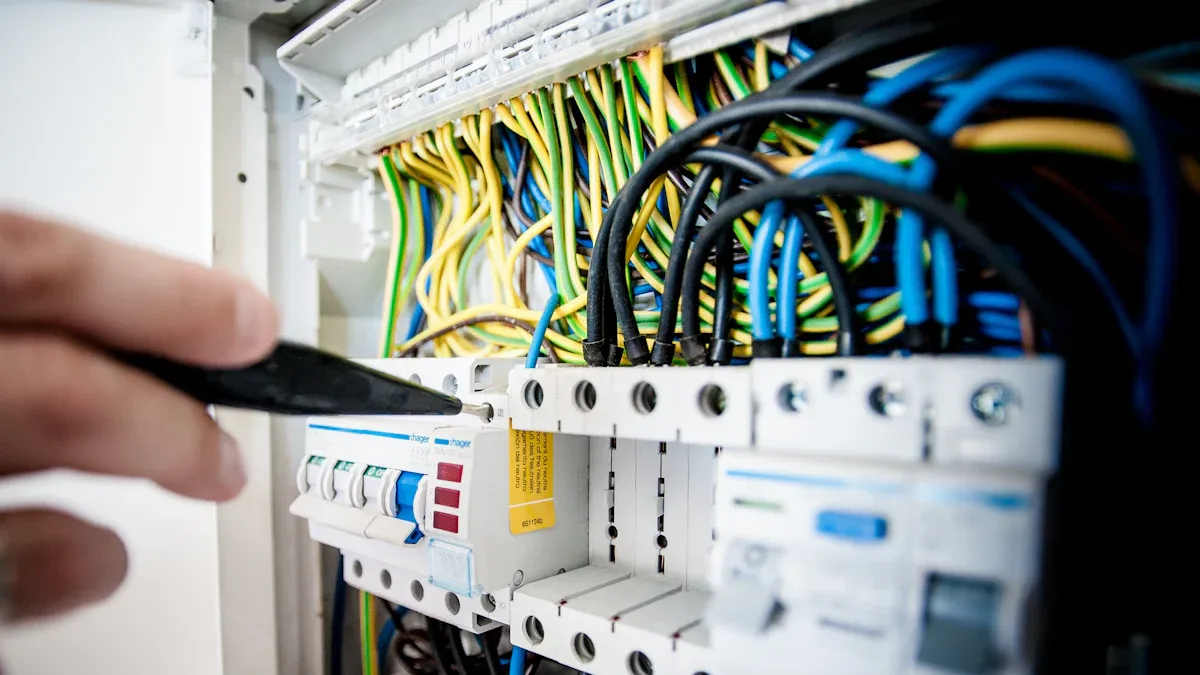

When you use a LiFePO4 Battery BMS, you protect your battery and make sure it works safely. You need to choose the right system, connect it correctly, and check your setup before using your battery. Always wear safety gear and follow clear steps. If you take your time and pay attention, you can avoid common mistakes. > Tip: Careful setup keeps your battery healthy and helps it last longer.
A LiFePO4 Battery BMS keeps your battery safe. It checks voltage, current, and temperature. This helps your battery stay healthy.
Pick a BMS that fits your battery’s current and cell count. Make sure it has safety features like temperature sensors. It should also have low-voltage cutoff.
Get ready before you install by checking cell voltages. Clean the terminals well. Use the right tools and wear safety gear.
Connect wires in the correct order. Make sure all connections are tight. This stops shorts and helps the BMS work right.
Test your system after you set it up. Do regular maintenance to keep your battery safe. This helps your battery last longer.

A Battery Management System, or BMS, acts as the brain of your battery pack. You use it to keep your battery safe, healthy, and working at its best. The BMS checks each cell in your battery, making sure everything stays within safe limits. It watches over voltage, current, and temperature. When you use a BMS, you get better performance and a longer battery life.
A BMS does many important jobs for your battery. Here are the main functions:
Monitors Each Cell: It checks the voltage, current, and temperature of every cell in your battery pack.
Protects the Battery: It stops charging or discharging if the battery gets too hot, too cold, or if the voltage goes too high or too low.
Issues Alarms: It warns you if something goes wrong, like overcurrent or overheating.
Balances the Cells: It makes sure all cells have the same voltage. This helps your battery last longer.
Estimates Charge: It tells you how much energy is left in your battery.
Provides Communication: Some BMS units let you connect to other devices for remote monitoring.
Tip: A BMS can shut down charging or discharging right away if it senses danger. This keeps your battery safe from damage.
You need a BMS to protect your battery from harm. Without a BMS, your battery can overcharge, over-discharge, or overheat. These problems can cause permanent damage or even start a fire. The BMS keeps your battery within safe limits by cutting off power when needed. It also balances the cells, so no single cell gets too weak or too strong. If you skip the BMS, you risk battery failure, loss of performance, and safety hazards. Using a BMS means you get a safer, longer-lasting battery.
When you pick a LiFePO4 Battery BMS, look for important features. These features help your battery stay safe and last longer.
Current Rating: Choose a BMS with the right current rating. If your battery can handle 100 amps, get a BMS rated for at least 100 amps. Experts say it is smart to use a BMS rated 1.5 to 2 times higher than your battery’s top current. This helps with sudden power surges.
Cell Count: Make sure the BMS matches your battery’s cell number. Many battery packs have 15 cells for 48V systems or 22 cells for 72V systems.
Balancing Current: Pick a BMS with enough balancing current for your battery size. Packs up to 100Ah need about 0.6A. Bigger packs may need 1A or 2A.
Temperature Sensors: Get a BMS with temperature sensors. These sensors keep your battery safe from getting too hot or charging when it is too cold. Some systems use one to three sensors. More sensors can give better protection.
Low-Voltage Cutoff: This stops your battery from losing too much charge. It protects the cells from damage.
Safety Features: Good BMS units protect against overcharge, over-discharge, overcurrent, short circuits, and very high or low temperatures.
Communication Protocols: Some BMS units have Bluetooth, CAN bus, or RS485. These make it easy to check and control your battery.
Tip: Always check the brand’s reputation and warranty. Brands like Guangdong LVTOPSUN New Energy and Olelon Energy are known for good support and quality.
Make sure your LiFePO4 Battery BMS fits your battery and project. Follow these steps to check if it works:
Figure out your load and surge current. Add a safety factor so the BMS can handle peak power.
Match the BMS voltage rating to your battery’s cell count.
Choose a BMS with active balancing for big or high-performance battery packs.
Look for temperature and low-voltage protection.
Pick communication options that work for you, like Bluetooth or CAN bus.
Set charge and discharge voltage limits to keep things safe.
Attach temperature sensors and set limits to stop unsafe conditions.
Test your system with low and high loads to make sure it works.
Check wiring and connections often to keep your battery safe.
LiFePO4 Battery BMS units are used in many places. You find them in electric vehicles, solar energy storage, RVs, e-bikes, and military devices. Each use needs a BMS that matches its power and safety needs.
Parameter | Typical Values / Guidelines |
|---|---|
Cell Count (Series) | 12 to 16 cells for 48V systems (often 15 cells), 22 cells for 72V systems |
Continuous Discharge Current | Matches battery size, like 50A for 100Ah packs |
Balancing Current | Up to 100Ah: 0.6A; 100-170Ah: 1A; Over 170Ah: 2A |
Recommended BMS Current Rating | 1.5 to 2 times the highest continuous discharge current |
Note: Always write down your wiring and settings. This helps you fix problems and keep your battery system working well.

Before you put in your LiFePO4 Battery BMS, get ready first. Safety is very important. Always wear insulated gloves and safety glasses. Work in a dry place with good air. Stay away from things that can catch fire and keep kids away. Store your batteries at room temperature, between 59–77°F (15–25°C). Never charge your battery if it is freezing.
Do these steps to get ready:
Use a multimeter to check each battery cell’s voltage. Balance the cells if you need to.
Make sure the battery pack’s polarity and series count match your BMS.
Clean all battery terminals and interconnectors with a wire brush. This takes off rust and stops heat from building up.
Fit busbars and cables without power. Pick wires that can handle all the current.
Put a main fuse or breaker near the positive terminal. Add a pre-charge resistor if you use an inverter or charger.
Plan where your cables will go. Keep communication cables away from big power wires.
Mount the BMS in a cool, dry spot you can reach. Leave space for air and make sure cables are not pulled tight.
Tighten all bolts as the maker says. Label every connection so you can fix things later.
Tip: Take pictures of your wiring before you start. This helps you remember and makes fixing things easier.
You need some tools and materials for this job. Here is a table to help you get ready:
Tool/Material | Purpose | Notes |
|---|---|---|
Multimeter | Measure voltage, check connections | Needed for safety |
Screwdriver | Secure wires and terminals | Use the right size |
Spot Welding Kit | Connect cells tightly | Better than soldering |
Insulated Wires | Safe connections for battery and BMS | Match wire size to system current |
Heat Shrink Tubing | Cover and protect connections | Works better than tape |
Battery Enclosure | Protects cells and electronics | Must let air flow |
Wiring your LiFePO4 Battery BMS takes time and care. Always turn off power before you start. Use thick wires for main parts and thin wires for balance leads. Follow the right order so you do not make mistakes.
Here is a simple guide:
Solder the main negative lead to the BMS B- pad. This makes the ground.
Do not plug in the balance cable harness yet.
Connect balance leads one by one. Start with B0 to the pack negative, then B1 to the first cell’s positive, B2 to the next, and so on.
Cover each joint with heat shrink tubing or tape after you connect it.
Connect the last balance wire to the main positive terminal of the battery pack.
Use a multimeter to check voltage between B0 and each balance wire. Make sure each step matches the cell voltage.
Connect the P- wire (negative discharge) to your device or load. Use a connector that can handle the current.
Attach the C- wire (charge negative) to the BMS C- pad. Connect your charger here.
Connect positive charge and discharge wires to the positive terminal of the last cell group.
Alert: Always put a fuse or DC breaker near the battery’s positive terminal. This keeps you safe from short circuits.
Mistakes to avoid:
Not using a fuse or breaker. This can cause fires.
Using wires that are too thin. Always use the right size for your system.
Leaving connections loose. Tighten all bolts and clamps.
Mixing up balance wire order. Double-check before you plug them in.
Not covering bare wires. This stops shorts and damage.
After wiring, set up your LiFePO4 Battery BMS for safe use. Use the software tool your BMS brand suggests. For example, the Sinowealth BMS tool works for Daly BMS units. Install any drivers you need, like the CH340 USB serial driver, to connect your computer to the BMS.
Set these important things:
Voltage thresholds: Change these for your battery’s cell count. For example, set overvoltage at 3.65V per cell and undervoltage at 2.5V per cell.
Current limits: Set charge current to half your battery’s size (0.5C) and discharge current to 1C.
Temperature limits: Program the BMS to stop charging below 0°C and above 60°C.
Cell balancing: Turn on active balancing if you have it, especially for big packs.
Communication: Set up Bluetooth, CAN bus, or RS485 if you want to check your battery from far away.
Parameter | Recommended Setting |
|---|---|
Max Charge Current | 0.5C (like 50A for 100Ah pack) |
Max Discharge Current | 1C (like 100A for 100Ah pack) |
Overvoltage Protection | 3.65V per cell |
Undervoltage Protection | 2.5V per cell |
Temperature Range | -20°C to 60°C |
Cell Balancing Current | 1A to 2A for big packs |
Note: Always connect the NTC temperature sensor before you start the BMS. This lets the system check temperature the right way.
Testing your LiFePO4 Battery BMS is the last step. This makes sure your setup is safe and works well.
Do these steps:
Use a multimeter to check each cell’s voltage. All cells should be close in voltage.
Look at the battery for damage, swelling, or leaks.
Make sure the battery capacity is what you need.
Check that all connections are tight and safe.
Turn on the system slowly. Watch for sparks, heat, or strange smells.
Use the BMS app or screen to check charge, voltage, and temperature.
Test charging and discharging. Make sure the BMS balances cells and stops overcharge or undercharge.
Watch the battery for a while. Look for problems like heat or voltage drops.
If you see anything wrong, turn off the power and check your wiring and settings.
Tip: LED lights or app readings should show normal work. You should see charge, voltage, and temperature numbers. If you use RS485 or CAN, check that data moves the right way.
If you follow these steps, your LiFePO4 Battery BMS will be safe and work well. Good prep, careful wiring, right settings, and testing help you avoid mistakes and keep your battery healthy.
Sometimes, you may have problems with your LiFePO4 Battery BMS. Knowing these problems helps you fix them fast and keep your battery safe. Here is a table that lists the most common problems, what causes them, and what happens:
Issue | Common Causes | Description |
|---|---|---|
Battery unable to activate | Severe over-discharge, self-discharge, parasitic loads | Battery will not allow charge/discharge over 1A; needs force charging to revive. |
Undervoltage protection | Voltage drops below threshold | BMS cuts off discharge to protect cells; needs immediate charging. |
Overvoltage protection | Charging voltage too high | BMS stops charging; lower charger voltage and try again. |
Temperature protection | Extreme high or low temperature | BMS disconnects battery until temperature returns to normal. |
Internal short circuit | Short inside battery | Causes high heat and current; remove battery quickly. |
Overcurrent protection | Excessive charge/discharge current | BMS disconnects battery to prevent damage. |
You might see these signs too: The battery may not charge because of overcurrent protection, loose wires, or unbalanced cells. Sometimes, the battery will not power your devices if there is over-discharge protection or a short circuit. You may see alarms or flashing lights when there is over-voltage, under-voltage, or overheating. Overheating can happen if there is not enough airflow, if the current is too high, or if connections are bad. Bluetooth or app problems can come from software bugs or broken Bluetooth parts.
If you notice any of these problems, try these steps: First, turn off the battery and unplug chargers and devices. Put on insulated gloves and use a multimeter to check voltages. Take a picture of your wiring so you can remember it. Look for burnt spots, puffed cells, or loose wires. Check each cell’s voltage; it should be about 3.2V to 3.3V. Feel the battery and BMS to check their temperature. Look at error codes or LED lights on the BMS. Try using a small load, like a 12V bulb, to see if charging and discharging work.
Doing regular maintenance helps your LiFePO4 Battery BMS work well and makes your battery last longer. Follow these tips: Store your battery at about half charge if you will not use it for a while. Check battery health and how it works often by testing voltage and looking at the battery. Use battery monitors or apps to watch charge, voltage, and temperature in real time. Always use chargers made for LiFePO4 batteries. Charge batteries in cool places with good airflow. Try not to let the battery get too empty by watching voltage and using low voltage cutoffs. Keep batteries away from very hot or cold places. Look for damage, loose wires, and check voltage and temperature often. Change the battery if it holds less than 80% charge, if cells stay unbalanced, or if you see damage. Recycle old batteries at special centers.
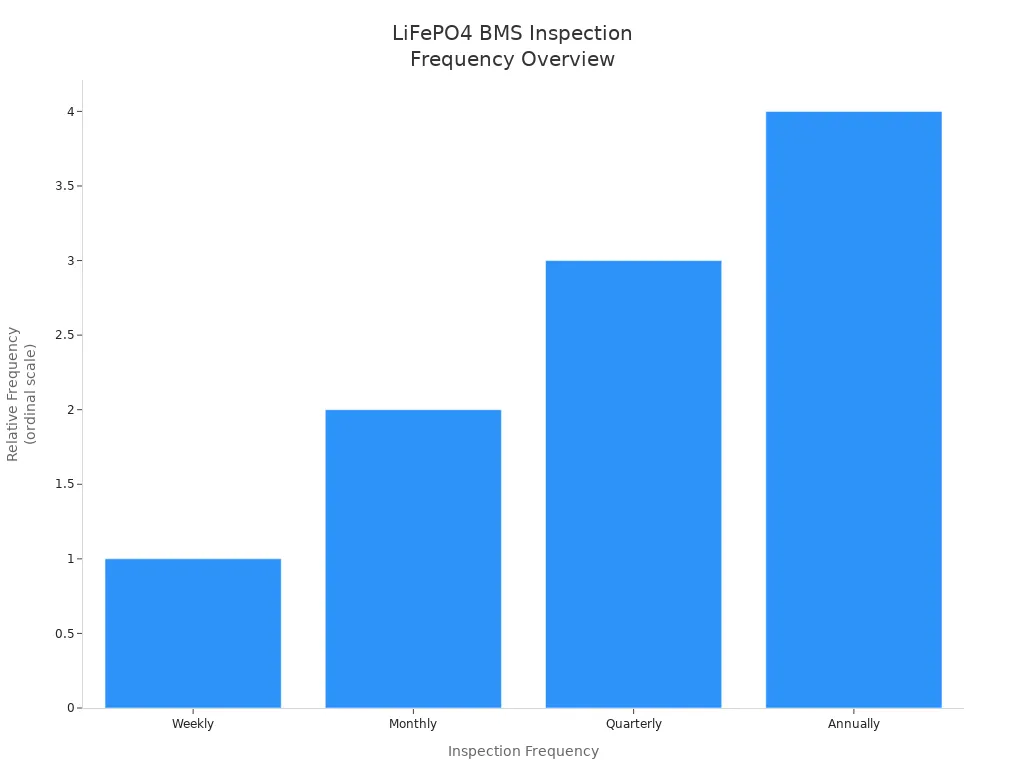
You should also check your BMS on a regular schedule. This chart shows how often to check and what to do:

Inspection Frequency | Recommended Actions for BMS Inspection and Maintenance |
|---|---|
Weekly | Visual checks to spot obvious issues |
Monthly | Check alarms, fault codes, and communication stability |
Quarterly | Clean and review logs, update firmware |
Annually | Full system check-up, including shutdown and detailed diagnostics |
Tip: If you keep having problems with your BMS, ask an expert for help. Checking your battery often and having good habits helps you avoid most problems and keeps your battery safe.
To use a LiFePO4 Battery BMS the right way, you need to do a few things. First, figure out how much power you need and pick the right voltage. Next, pick good battery cells and make sure they are balanced at the top. Then, get a BMS that matches your battery and put it in carefully. Set the voltage and temperature limits, and test everything to make sure it works. Keep an eye on how your battery works and check it often to keep it in good shape.
If you follow these steps, your battery will be safer and last longer. You can learn more by reading blogs, FAQs, and guides from trusted battery experts.
You can check the BMS by looking at the indicator lights or using the app. If the lights show normal colors and the app displays cell voltages, your BMS works. You should also see no warning alarms.
No, you need a BMS made for LiFePO4 batteries. The wrong BMS may not protect your battery. Always match the BMS to your battery’s voltage, cell count, and current needs.
If you connect balance wires in the wrong order, the BMS may not read cell voltages correctly. This can cause errors or damage. Always double-check the wiring order before you plug in the balance connector.
Yes, you often need to reset the BMS after a fault. You can do this by turning off the battery, disconnecting the load, and waiting a few minutes. Some BMS units have a reset button.